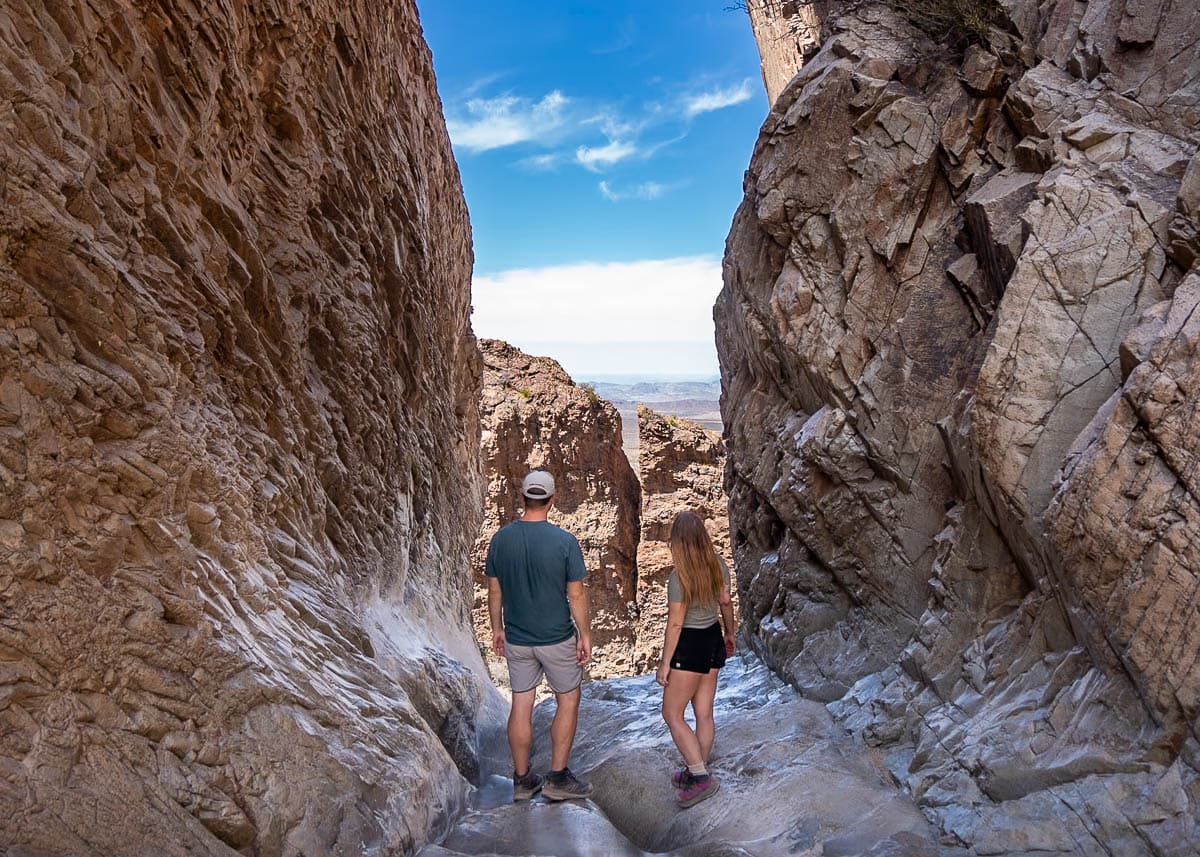
The Window Trail is one of the most popular hikes in Big Bend National Park, leading you along the floor of a towering canyon and to the edge of a “window” in the cliff sides that overlooks the Chisos Mountains. Here’s everything you need to know about the Windows Trail in Big Bend National Park.
This post may contain affiliate links. If you make a purchase through them, we may receive a small commission, for which we are extremely grateful, at no extra cost to you.
Pssst… looking for other cool hikes in Texas? Check out:
About the Window Trail
- Length: 5.5 miles
- Elevation gain: 961 feet
- Difficulty: Moderate
- Dog-friendly? Like most U.S. National Park hikes, you’ll need to leave the pups at home for this one.
- Trail map
How to get to the Window Trail
The Window Trail is located here in the central part of Big Bend National Park in West Texas.
Big Bend is quite remote and isn’t really located close to any major cities, with El Paso being a little over five hours away. Accordingly, you’ll need a rental car to get to and around the park.
The park has a $30 per private vehicle per week entrance fee. Alternatively, you can get in for free if you pick up an America the Beautiful pass, which costs $80 for one year of unlimited access to all of the U.S. National Parks and over 2,000 federally managed parks!
Once you’re in the park, the last section of your drive will be to the top of the 6.3-mile long Basin Junction Road in the Chisos Basin area of the park.
The Chisos Basin is home to some of the most popular things to do in Big Bend National Park, like the Window or Lost Mine Trail, and, given its limited parking, rangers often limit the amount of cars that can enter this area at any given time.
It’s not unusual to have to wait an hour or more to drive up this section after around 8 AM, especially if you’re visiting during a busy period, like weekends or holidays in the fall or spring. My husband, Justin, and I visited Big Bend during spring break (hot tip—don’t do this!) and had to wait a few hours in line to get to the Window trailhead.
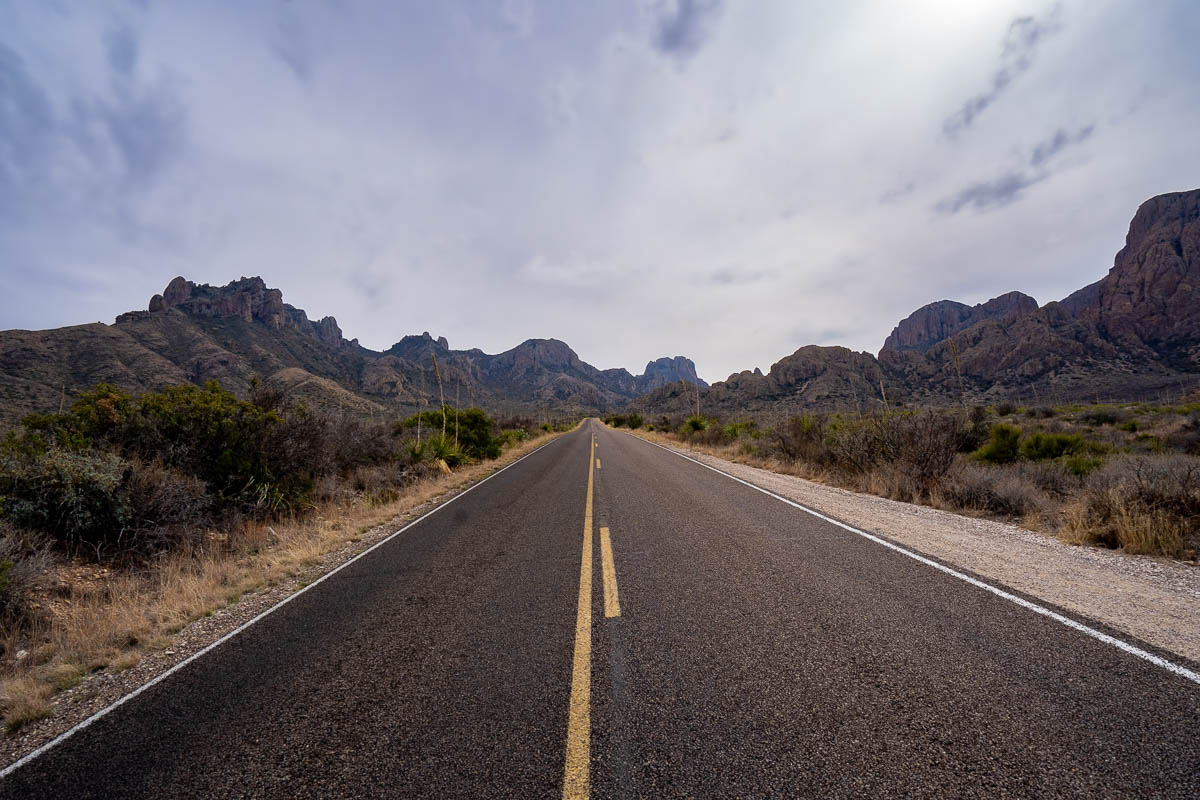
The Window Trail starts near the Chisos Basin Visitor Center and the Window Campground, so there’s a large paved parking lot that you should be able to find a space in. Plus, there’s bathrooms, a water fill-up station, and even a tiny general store where you can buy cold drinks or a paleta after your hike!
What to Expect on the Window Trail
The most important thing to know about the Window Trail is that it’s downhill during the first half and entirely uphill when you return during the latter half.
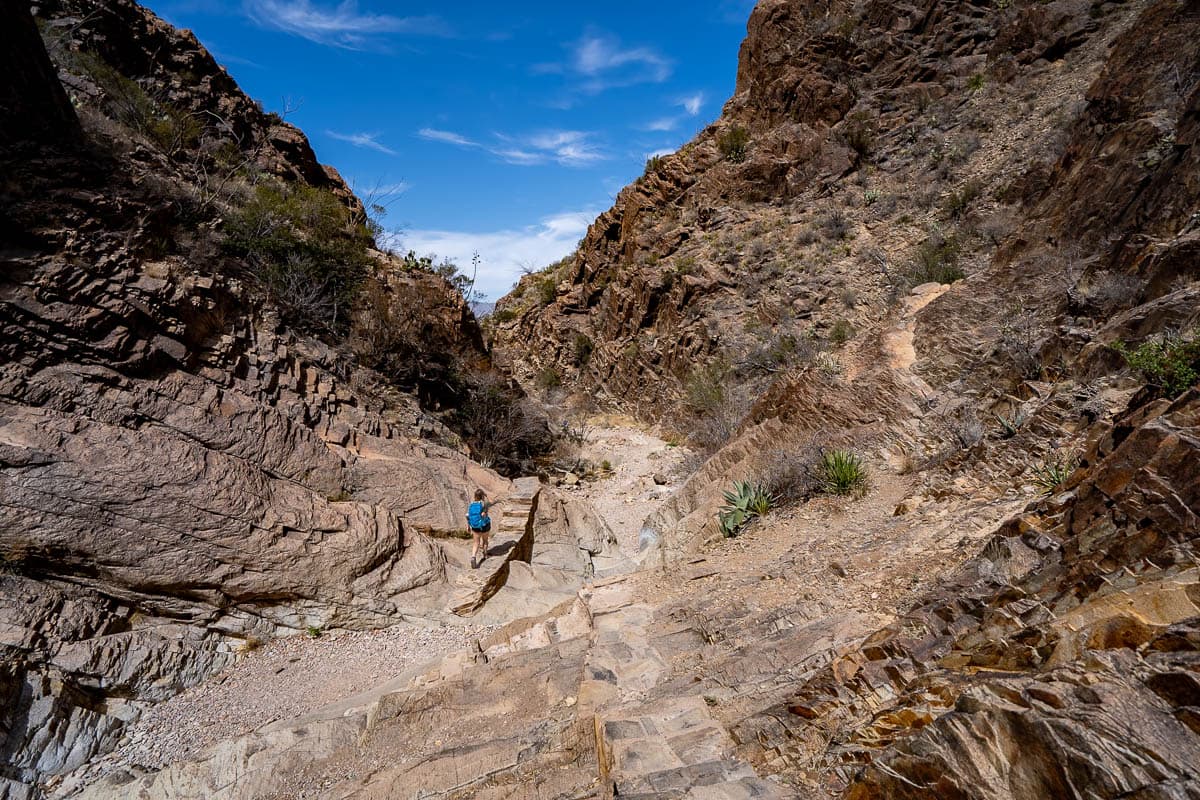
These kinds of trails are honestly my least favorite as they’re deceivingly challenging. Hiking downhill is always so much easier and you won’t really know how challenging a trail really is until you’re at the endpoint—and you don’t have any other option other than to make your way back up to the top.
Luckily, the trail isn’t too steep, so most hikers in decent shape shouldn’t have a problem making the climb back up.
But try to time your visit so that you’re not climbing back up during the hottest part of the day and bring plenty of water—Justin and I hiked this trail during an unseasonably warm day in March (with temperatures of 95 degrees!) and the return hike absolutely kicked my booty!
Tip: If you’re visiting on a particularly hot day or just don’t feel like hiking almost a thousand feet uphill, consider doing the Window View Trail instead, a mostly flat, 0.3 mile hike that provides stunning views of the surrounding canyon and, beyond, the Chisos Mountains.

Alternatively, if you're looking for an easier hike with an interesting pay-off, head to the Balanced Rock Trail, instead, which offers quirky rock formations and gorgeous views, without all of the elevation gain required for the Window Trail.
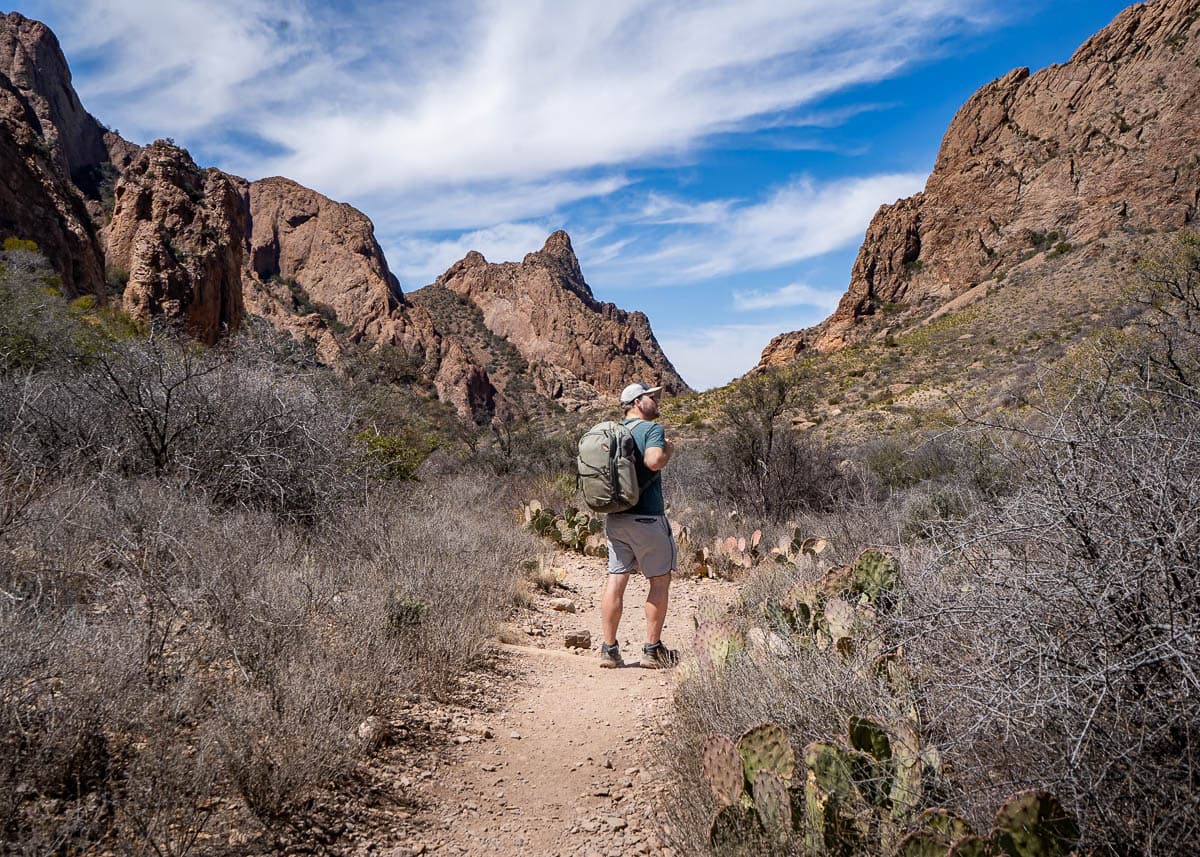
With that in mind, from the trailhead, you’ll start making your way downhill along several switchbacks. The trail is surrounded by cacti, agave, and other desert plants and, with each step, the rugged canyon walls around you get taller and taller.
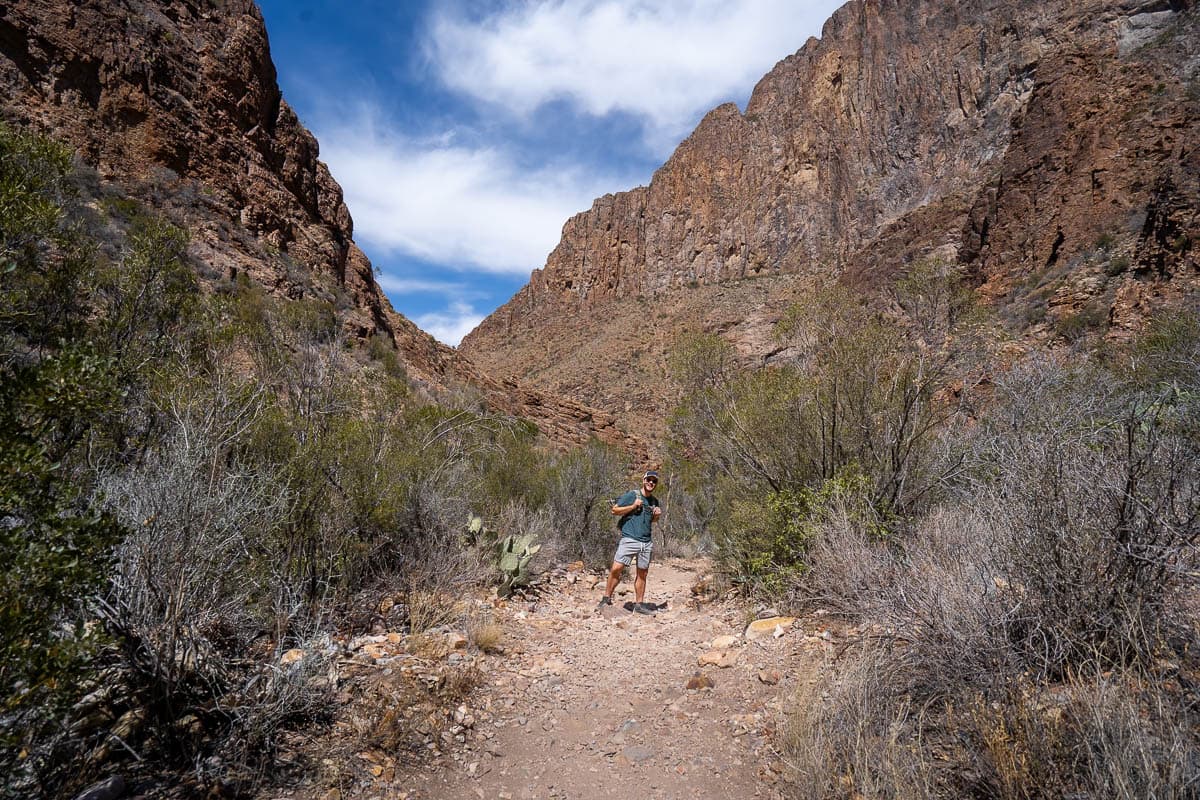
You’ll eventually start hiking along a dry streambed and as you approach the bottom of the canyon, the walls around you will get a bit narrower. The surrounding rock formations will also get a bit more dramatic, with stairs carved into some of the massive boulders lining the trail.
At the very end of the trail, you’ll reach a “window” in the brown cliffside, carved over millennia by water rushing down the canyon to the Chihuahuan Desert below. The window provides an incredible view of the surrounding mountains but be careful here. The section leading up to the cliffside is SUPER slick and slippery from countless years of erosion and it would be a decidedly bad ending to your Big Bend trip to accidentally fall hundreds of feet down.
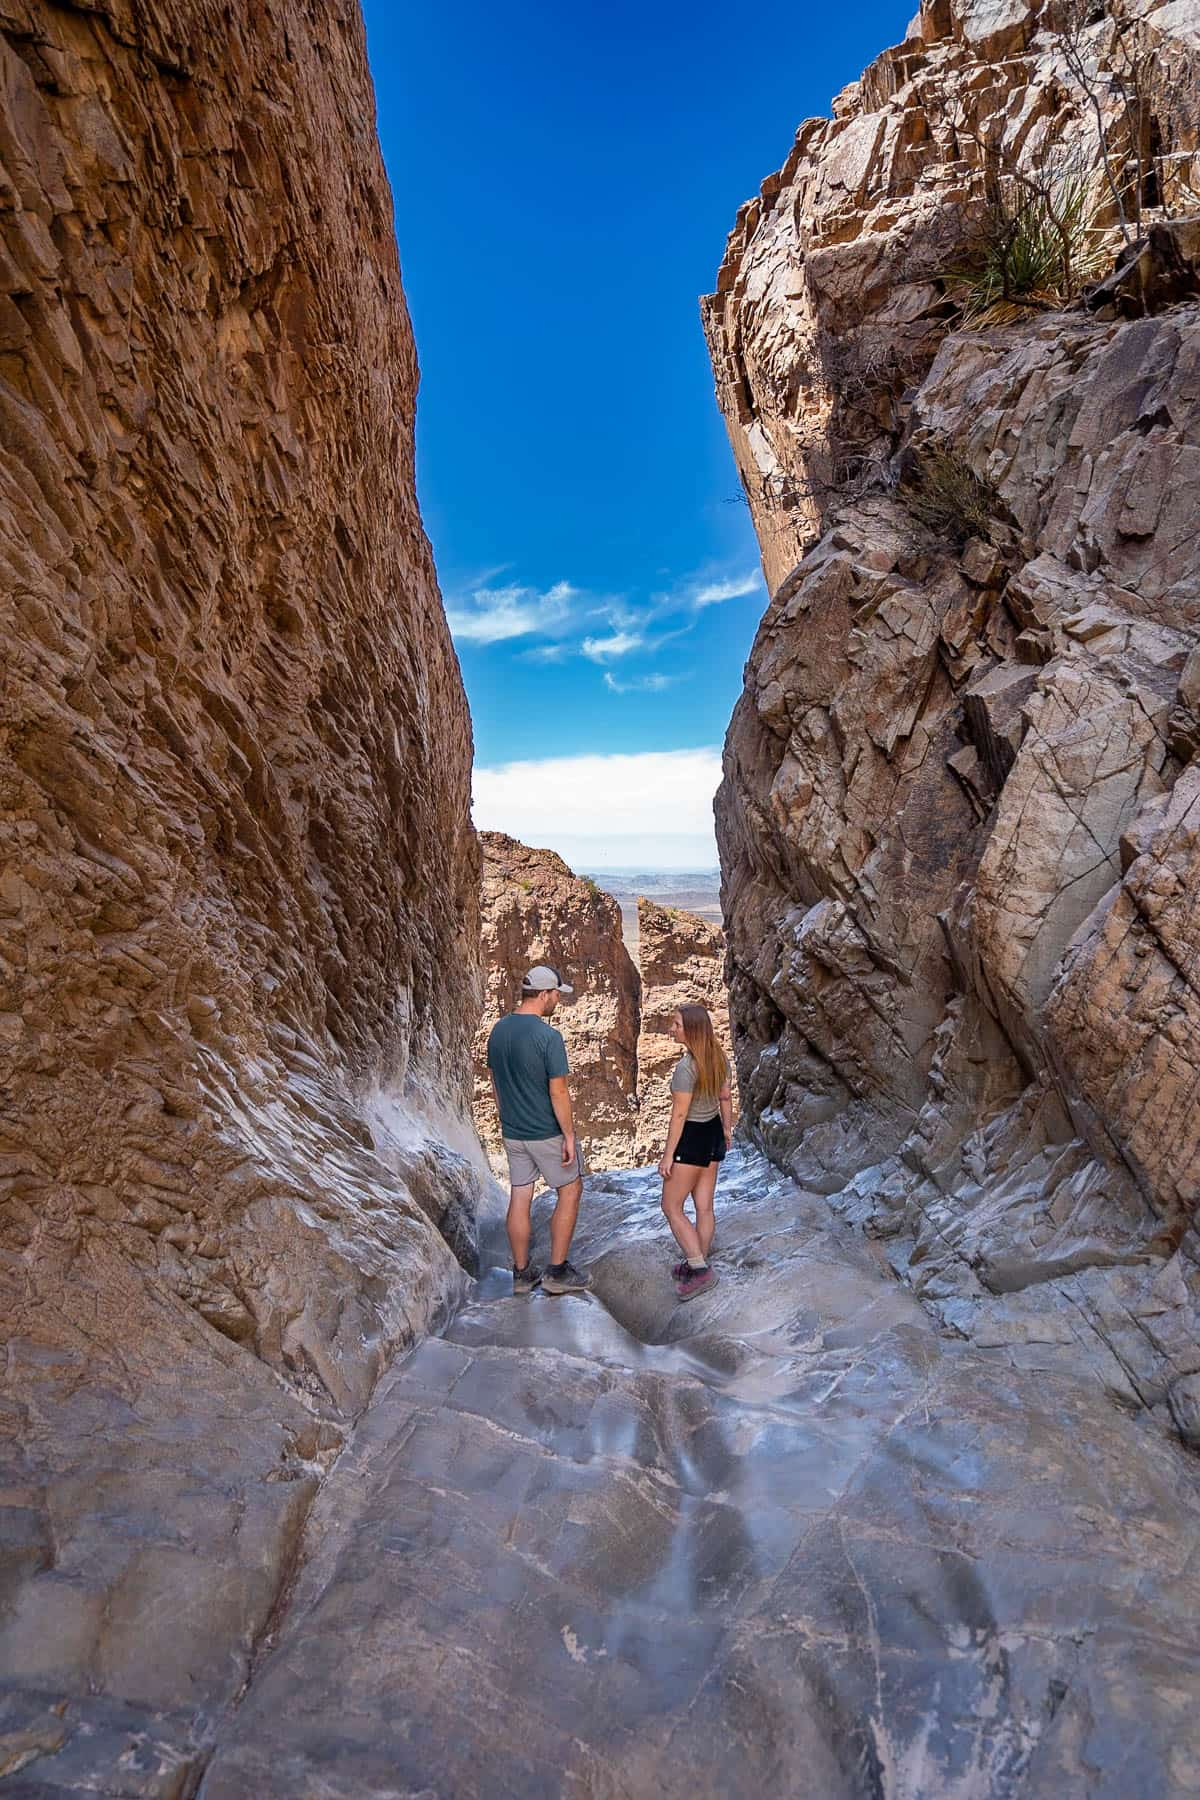
Once you soak up those sweet desert views, you simply retrace your steps back uphill to the trailhead.
Tip: If you want to cut off a little over a mile of this hike, there's a limited number of parking spots near the Chiso Basin Campground that will allow you to skip the first 0.6 mile section of the trail (one-way), which includes some of the steepest climbs back up to the main parking area. Just be sure to comply with all parking signs and get here EARLY so that you can snag a spot!
When to visit the Window Trail
The best time to visit the Window Trail—and Big Bend National Park, in general—is October through March, when the temperatures are usually warm without being swelteringly hot. If you’re really looking for a wow factor, try to time your visit in mid to late March, when the springtime flowers are blooming on the cacti and other succulents.
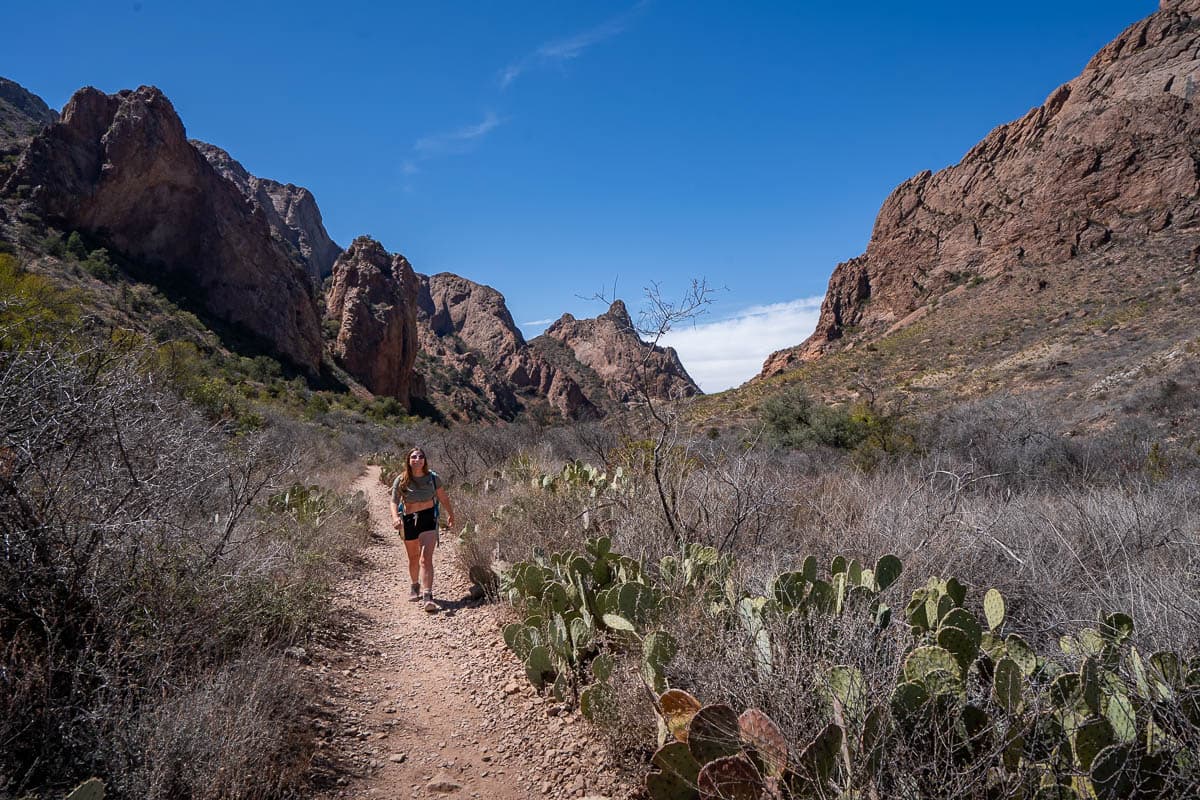
I’d avoid hiking this trail in the summer months, but especially July through September, when rainstorms are common. The Window Trail can be dangerous in the rain, due to sudden and powerful flash flooding, so I’d suggest picking another day for your adventure if there’s rain in the forecast.
Tips for hiking the Window Trail
Be on the lookout for wildlife
While people think of the desert as being barren, it’s anything but—there’s actually 75 species of mammals and 450 species of birds that call Big Bend home!
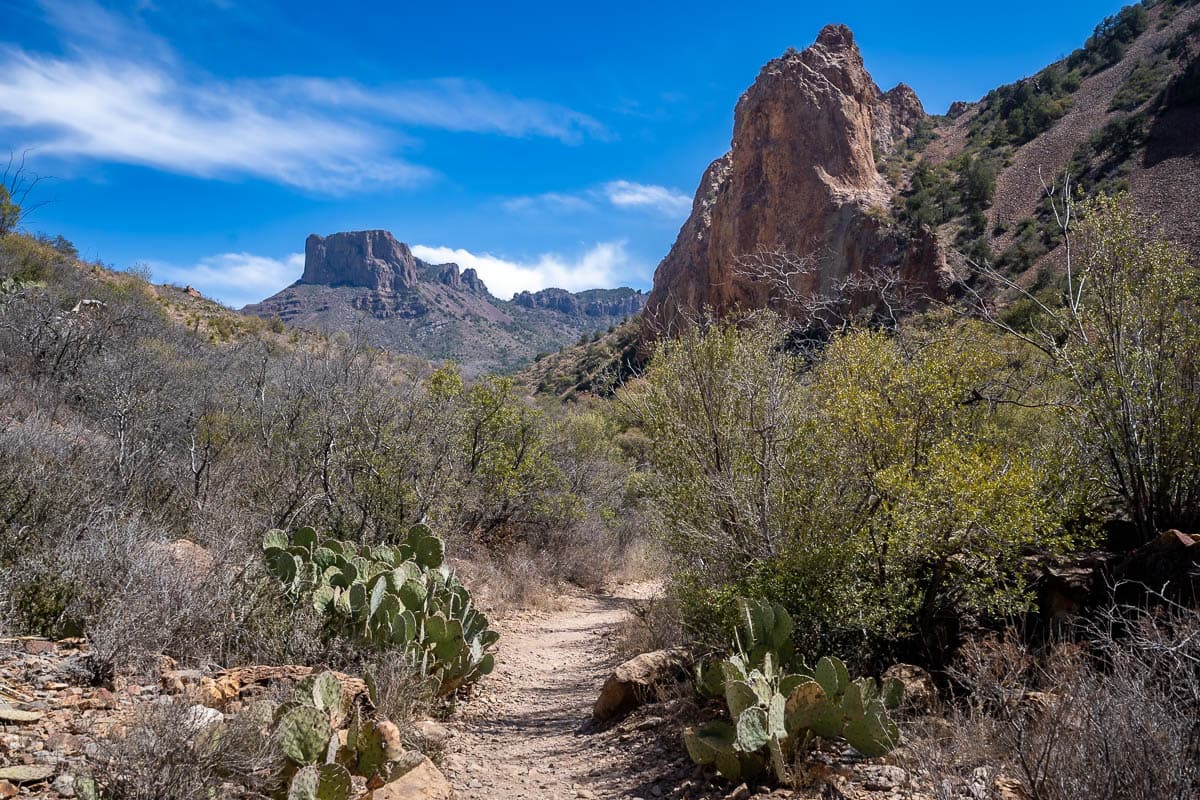
While most of the creatures that live in Big Bend will cause you no harm, there’s a few critters you need to be aware of.
There are mountain lions and black bears in the Chisos Mountains, so you should keep a watchful eye on any little ones that are with you. Additionally, while black bears are extremely rarely aggressive, it may be a good idea to bring bear spray with you.
Finally, there are five types of venomous snakes that live in Big Bend, four of which are rattlesnakes. Accordingly, make sure to pay attention to the trail and its surroundings—you definitely don’t want to accidentally surprise a rattler!
Bring sun protection and water
The Window Trail tends to be quite shaded in the morning, but, as the day grows longer, it’s more and more exposed to the sun.
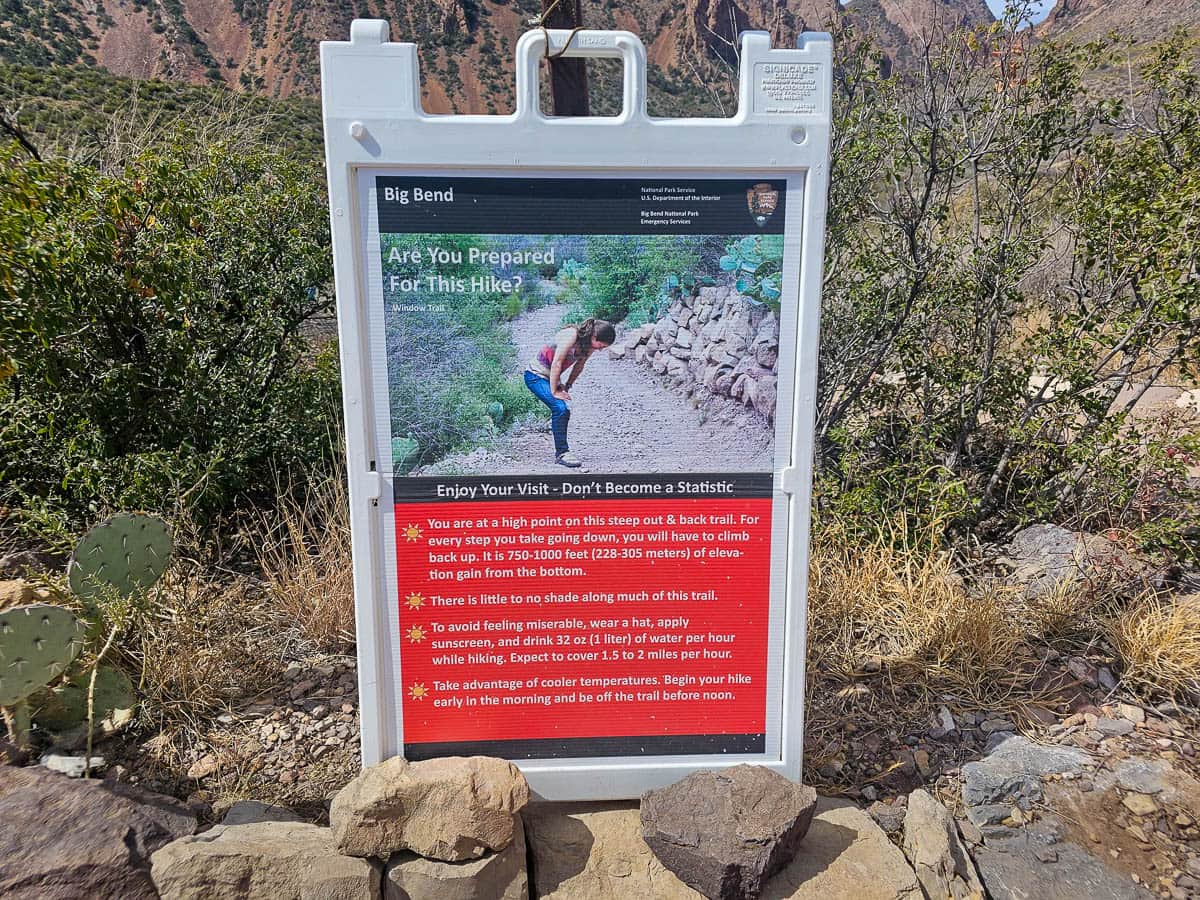
Accordingly, be sure to bring sun protection, including sunscreen, a hat, and sunglasses, and plenty of water. The National Park Service recommends bringing two liters per person per day in the summertime for a half day hike, like the Window Trail.
Visit at sunset
If you want to see the trail at its most stunning, consider visiting at sunset—due to the Window’s location on the west side of the basin, it’s an excellent place to watch the spectacular desert sunsets. Just remember to bring a headlamp for the hike out!
Do you have any questions about the Window Trail or visiting Big Bend? Let us know in the comments below!

